

Table of Contents
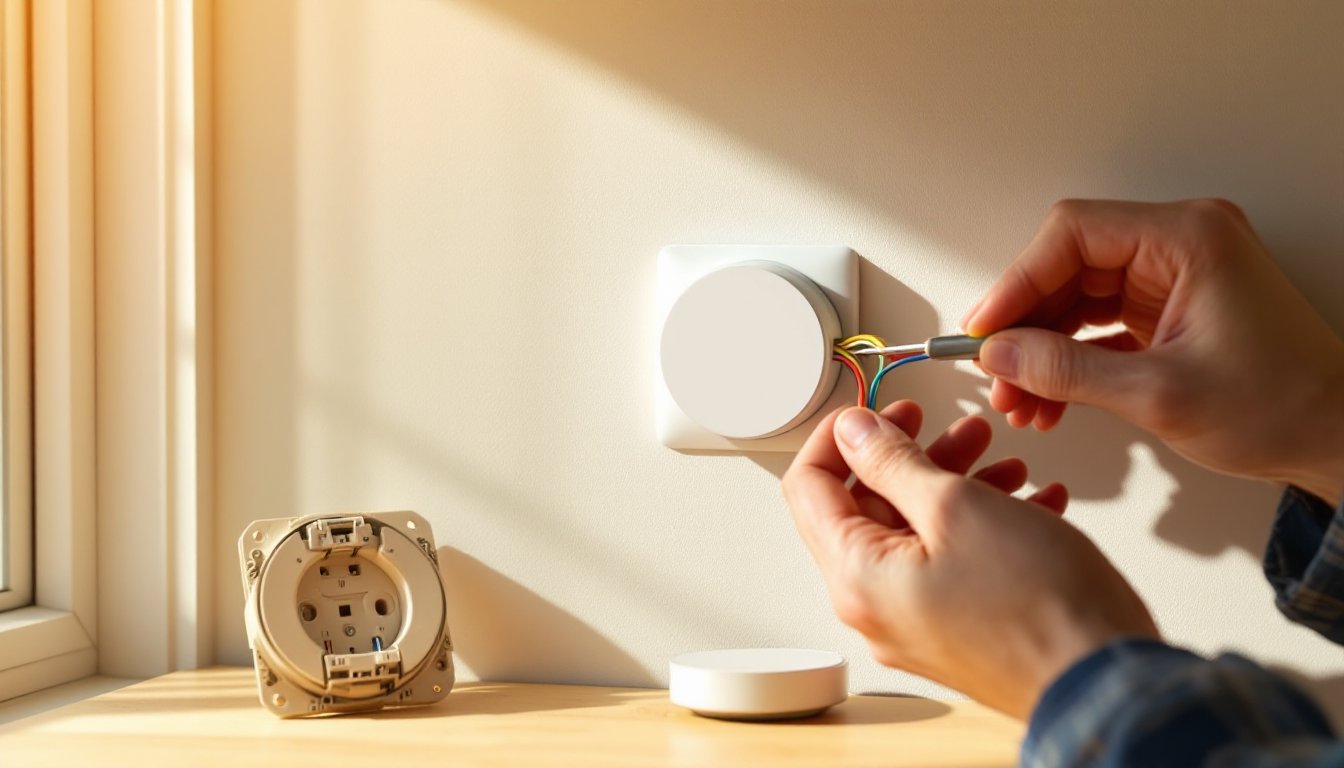
ToggleSwapping out an old thermostat for a Nest is one of the more straightforward smart home upgrades, if you understand what you’re looking at behind that wall plate. Most installations take 30 minutes or less, but the wiring can feel intimidating if you’ve never dealt with low-voltage HVAC systems. The good news: thermostats run on 24-volt circuits, so there’s no shock hazard like you’d face with household wiring. The challenge is matching the right wires to the right terminals and figuring out if your system has the infrastructure the Nest needs. This guide walks through the entire process, from identifying existing wires to solving the notorious C-wire problem.
Key Takeaways
- Nest thermostat wiring is a 30-minute DIY upgrade for most homeowners, but understanding the low-voltage 24-volt system and correctly matching wires to terminals is essential for success.
- Always photograph your existing thermostat wiring before disconnection, label each wire with painter’s tape, and verify the terminal letters—this single step prevents costly mistakes.
- The C-wire (common wire) is critical for powering the Nest’s Wi-Fi and display continuously; if missing, explore existing unused conductors, use a Nest Power Connector adapter, or run new thermostat cable.
- Test each HVAC function (heating, cooling, and fan) after installation, and use a multimeter to verify 24V power between the R and C terminals if the Nest won’t power on.
- Common wiring errors like reversed Y and W connections or missing C-wires cause short cycling, intermittent operation, or complete failure—consult an HVAC technician if your system is incompatible or still under warranty.
Understanding Your Existing Thermostat Wiring
Before touching anything, take a photo of the existing thermostat wiring with your phone. This is your safety net if things get confusing.
Most residential HVAC systems use 18-gauge thermostat wire with multiple colored conductors bundled in a single jacket. The number of wires varies, older systems might have just two or three, while newer setups can have eight or more.
Pull off the old thermostat faceplate (it usually snaps or slides off). You’ll see wires connected to labeled terminals on the backplate. Each terminal corresponds to a specific HVAC function. The Nest uses the same labeling system, so identifying what you have is half the battle.
Common Wire Types and What They Do
Here’s what each terminal letter means:
- R or Rh: Red wire, 24V power from the heating transformer
- Rc: Red wire, 24V power from the cooling transformer (sometimes jumped to Rh)
- W or W1: White wire, controls the heating system
- Y or Y1: Yellow wire, controls the air conditioning compressor
- G: Green wire, controls the fan
- C: Blue or black wire, common wire that completes the 24V circuit (often missing in older installations)
- O/B: Orange or dark blue wire, controls the reversing valve on heat pumps
Some systems use additional wires for two-stage heating/cooling (W2, Y2), emergency heat (E or AUX), or humidifiers. If you’ve got more than five wires, your system likely has multi-stage capability.
The C-wire is the most common source of trouble. Many systems installed before 2000 don’t have one run to the thermostat, even if the wire bundle includes an unused blue conductor at the furnace end.
Tools and Materials You’ll Need
Tools:
- Small flathead screwdriver or the tool included with the Nest
- Phillips screwdriver (for mounting the backplate)
- Drill with a 3/16-inch bit (if mounting to drywall without a stud)
- Wire strippers (if cutting back damaged wire ends)
- Voltage tester or multimeter (optional but recommended for verifying C-wire)
- Painter’s tape and permanent marker (for labeling wires)
Materials:
- Nest Thermostat (comes with trim plate, screws, and wire labels)
- Drywall anchors (if not mounting to a stud or existing anchor points)
- C-wire adapter kit (may be included with some Nest models, or available separately if your system lacks a C-wire)
Safety Gear:
- Safety glasses (when drilling)
Turn off power to the HVAC system at the breaker or furnace switch before starting. Even though it’s low voltage at the thermostat, you don’t want the system cycling on while you’re working.
Step-by-Step Nest Thermostat Wiring Instructions
1. Power Down the System
Locate your furnace or air handler and flip the power switch to off. For extra safety, shut off the corresponding breaker. The thermostat screen should go dark.
2. Remove the Old Thermostat
Pull off the faceplate. Unscrew the backplate from the wall. As you disconnect each wire, wrap a small piece of painter’s tape around it and write the terminal letter it was connected to. Don’t rely on wire color alone, installers sometimes use whatever’s available.
If wires are short, avoid letting them fall back into the wall. Bend them outward or tape them to the wall temporarily.
3. Check for a C-Wire
Look for a wire connected to the C terminal, or an unconnected wire tucked behind the backplate (often blue or black). If you find one that’s not connected, check the other end at the furnace to confirm it’s landed on the C terminal of the control board.
4. Install the Nest Backplate
Thread the wires through the center opening of the Nest backplate. Many professionals will recommend following installation tutorials from trusted sources to ensure accuracy during this step. Level the backplate and mark screw holes. If you’re not hitting a stud, use the included drywall anchors.
Secure the backplate with screws. Make sure it’s snug but not over-tightened, which can crack the plastic.
5. Connect the Wires to the Nest
Insert each wire into its corresponding terminal on the Nest base. Push the button above the terminal, insert the bare wire end (strip about 1/4 inch if needed), and release the button. Tug gently to confirm it’s seated.
Match the labels from your photo:
- R or Rh → Nest’s R terminal
- W → Nest’s W1 terminal
- Y → Nest’s Y1 terminal
- G → Nest’s G terminal
- C → Nest’s C terminal (if present)
- O/B → Nest’s O/B terminal
If you have both Rh and Rc, connect Rh to the R terminal and Rc to the Rc terminal (the Nest will handle the rest).
6. Attach the Nest Display
Align the display with the backplate and press until it clicks into place. The screen should power on. If it doesn’t, you likely have a C-wire issue (covered in the next section).
7. Restore Power
Turn the furnace switch and breaker back on. The Nest will boot up and guide you through setup via the built-in menus.
Dealing with the C-Wire (Common Wire) Issue
The C-wire provides continuous 24V power so the Nest can run Wi-Fi, the display, and charging without draining the battery. Without it, the Nest may work intermittently or not at all, especially in systems with short heating or cooling cycles.
Option 1: Use an Existing Unused Wire
If your thermostat cable has more conductors than are currently connected, check the furnace end. You may find an extra blue or black wire that’s capped off. Connect it to the C terminal on the furnace control board, then connect the other end to the Nest’s C terminal. Label it with tape.
Option 2: Install the Nest Power Connector (C-Wire Adapter)
If no extra wire exists, use the Nest Power Connector included with many Nest models. This small adapter installs at the furnace and uses the existing wires to deliver power without running a new cable.
Installation involves connecting the adapter to the furnace control board terminals and reconfiguring wire connections at both ends. Follow the included instructions carefully, incorrect wiring can damage the furnace control board or cause short cycling.
Option 3: Run a New Thermostat Cable
For complex systems or if adapters don’t work, run a new 18/8 thermostat cable from the furnace to the thermostat. This requires fishing wire through walls and may involve drilling, patching, and painting. If you’re not comfortable with this, hire an HVAC technician or electrician.
Option 4: Use the G-Wire Workaround (Not Recommended)
Some online guides suggest repurposing the G-wire as a C-wire. This disables independent fan control and can confuse the Nest’s algorithms. It’s a last resort and often causes more problems than it solves.
Smart home platforms like those reviewed on popular tech sites often highlight the importance of proper C-wire installation for reliable thermostat performance.
Testing Your Installation and Troubleshooting Common Problems
Once the Nest is powered on, run through the setup wizard. The Nest will ask questions about your system type (forced air, heat pump, radiant, etc.) and test each connected component.
Test Heating:
Set the mode to Heat and raise the target temperature above the current room temp. You should hear the furnace ignite within a minute. Air should start flowing from vents.
Test Cooling:
Switch to Cool and lower the target temp. The compressor should kick on, and cold air should flow. If you have a heat pump, the outdoor unit will run.
Test Fan:
Set the fan to On (not Auto). The blower should start immediately and run continuously until switched back to Auto.
Common Problems:
- No power to Nest: Check the C-wire connection at both ends. Verify the furnace power switch and breaker are on. Use a multimeter to test for 24V between R and C at the thermostat.
- Heating works but cooling doesn’t (or vice versa): Double-check the Y and W wire connections. Reversed wires won’t damage anything but will prevent proper operation.
- Error codes (e73, e298, etc.): These indicate wiring issues or incompatible systems. The Nest app provides specific guidance for each code. E73 usually means no power detected on the R wire.
- Short cycling or system won’t stay on: Often a sign of a missing or improperly wired C-wire. The Nest is stealing power through the Y or W wire, which can confuse the control board.
- Blown fuse at the furnace: This happens if wires are shorted during installation. Replace the 3-amp or 5-amp fuse on the control board (usually a small glass tube) and recheck all connections for bare wire touching metal.
DIY enthusiasts often reference reliable workshop and tool guides when troubleshooting home projects that combine mechanical and electrical components.
If the system still doesn’t work after verifying connections, consult a licensed HVAC technician. Some older systems, particularly those with millivolt gas valves or proprietary controls, aren’t compatible with smart thermostats.
Conclusion
Wiring a Nest thermostat is well within reach for most DIYers who take the time to understand their system. The keys are labeling wires before disconnecting anything, confirming whether a C-wire is present, and testing each HVAC function after installation. If you run into compatibility issues or don’t feel confident working with your furnace control board, calling a pro is the smart move, especially if your system is still under warranty.